
Product Photography Made Easy: Creating Scroll-Stopping Images on a Budget
Master Stunning Product Shots Without Expensive Gear
"But I'm not a professional photographer!"
As a creator you craft, design, and create with passion. But when it comes to selling online, those amazing visuals? They often feel like a roadblock.
In today's bustling online marketplace, your product image isn't just a picture – it's your virtual storefront, your silent salesperson, and often, your customer's very first impression. Without scroll-stopping visuals, your incredible creations can easily get lost in the noise.
Perhaps you've thought: "It's too technical. It's too expensive. I need to buy loads of specialized equipment."
Good news: You don't!
This blog post will show you exactly how to overcome those fears and create professional, scroll-stopping product images that sell, using just your smartphone and a few budget-friendly essentials. Get ready to make your unique products shine online and truly capture the attention they deserve!
We're going to break down the basics of capturing your creations with simple tools, cutting through the headache and endless, confusing choices of lights, tripods, and expensive cameras. Let’s get into taking some great photos together!

Your Visual First Impression is Non-Negotiable
In our visually-driven world, a strong visual first impression is simply non-negotiable. With so much online content vying for attention, you literally have less than a second to grab someone's eye.
You've spent countless hours perfecting your beautiful handmade products. Now, it’s time to showcase their true beauty, intricate details, vibrant colors, unique textures, and heartfelt story. The problem is often how to do that effectively. I hear it all the time: "But I'm not a professional photographer, and I can't afford to hire one right now!"
And I completely get it. Who has an endless budget for professional photos of every single creative product (and yourself!)? The world of photography can feel intimidating, complex, and out of reach. I'll be honest, every time I look at YouTube videos, someone tells me something different about the latest equipment I 'need' – lights, softboxes, tripods, and the list goes on and on. By the time I've watched a few, I'm totally confused, and I certainly don't want to waste money on equipment that won't actually achieve the results I need.
But I can confidently tell you that with a few smart tools and some essential knowledge, you can achieve professional-looking images that will truly sell your products.
In this blog post, we’re going to cover all you need to get going:
Why amazing photos are crucial for your business.
Your budget-friendly toolkit (hint: your smartphone is powerful!).
Essential principles for stunning shots.
Common mistakes to avoid.
Plus, I’m giving you a FREE downloadable guide with practical DIY setup examples to make it even easier. Let’s do this!
Why Scroll-Stopping Product Photography Matters (It's More Than Just a Pretty Picture)
Why invest your time in perfecting your product photos? Because they are fundamental to your online success:
Builds Trust & Professionalism
High-quality images instantly signal that your business is legitimate, credible, and takes pride in its offerings.
Grabs Attention & Boosts Engagement
In a crowded feed or marketplace, a captivating image is your first chance to stop the scroll and make someone click.
Drives Conversions
Clear, appealing images answer customer questions before they're even asked. If they can't see the product clearly, its details, or how it functions, they won't buy it.
Tells Your Brand Story
Your images are powerful vehicles for conveying your brand's unique aesthetic, the quality of your craftsmanship, and the passion behind each piece.
Your Budget-Friendly Product Photography Toolkit (Smartphone Magic!)
Now that we know why quality images are essential, let's talk about how to get them without breaking the bank. Here are 4 key components to add to your toolkit that will give you those professional-looking results:
Your Camera: The Smartphone You Already Own
Modern smartphones are incredibly capable and often all you need.
Tip: Always clean your lens before shooting! Use your phone's gridlines for composition and keep your hands as stable as possible (or use a stand, more on that later!).
Lighting: The Secret Ingredient (It's FREE!):
Lighting is perhaps the most crucial element, and the best kind is often free!
Natural Light is King: Soft, diffused light from a large window is your best friend. Avoid direct, harsh sunlight, which creates unflattering shadows.
Simple Diffusers & Reflectors: Use a white foam board to bounce light into shadowy areas, or a sheer white curtain or bed sheet to diffuse harsh light coming through a window.
Optional Budget Lights: If natural light isn't enough, a simple desk lamp with a white cloth diffuser or an inexpensive ring light can work wonders.
3. Backgrounds: Keep it Clean & Consistent
Your background should elevate your product, not distract from it.
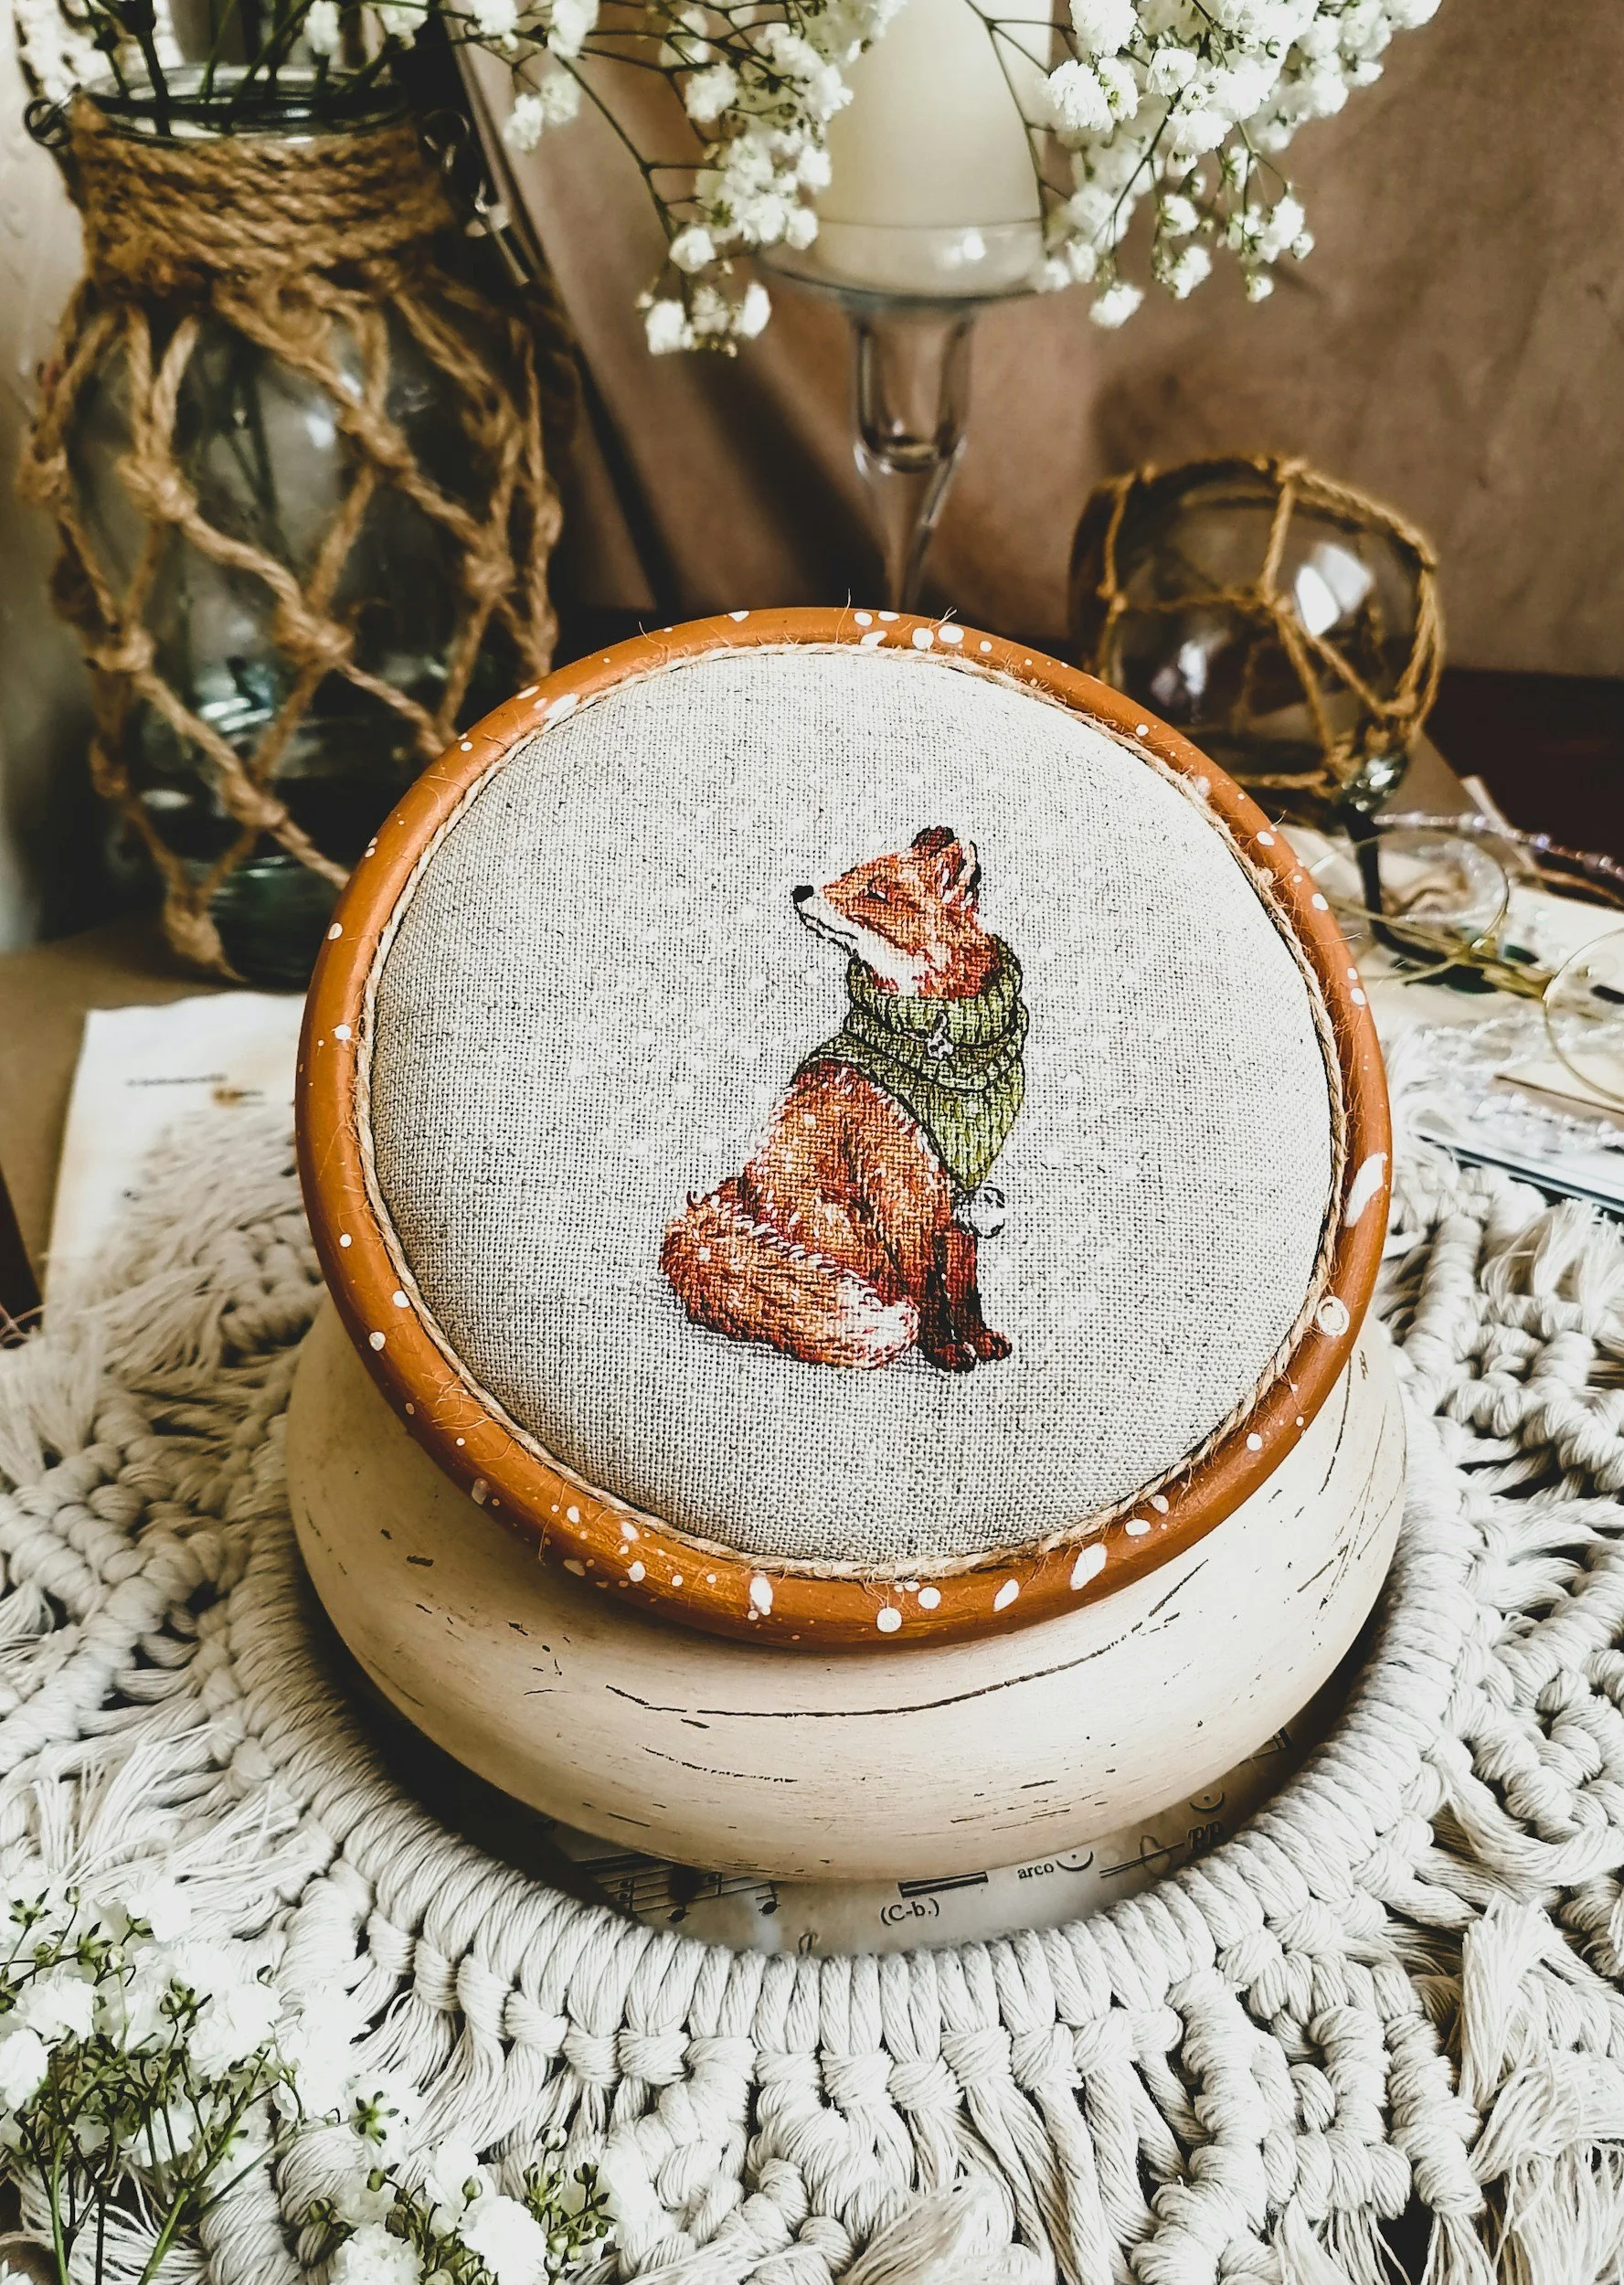
Easy Options: White foam board, seamless paper, simple fabrics (like linen), or even wood-grain contact paper can provide clean, professional backdrops.
Rule of Thumb: Keep it simple and non-distracting to ensure your product truly pops. Keep your product ‘front and centre’.

4. Props are secondary items that enhance your product and tell a visual story.
Choose Wisely: Select relevant, simple props that complement, rather than overwhelm, your product (e.g., a small plant for a ceramic planter, a coffee cup if it's a mug, or a subtle hand model to show scale).
Focus on Context: Use props to show the scale, functionality, or how the product might be used in real life.

Essential Principles for Stunning Shots (Even on a Budget)
You don't need to be a professional photographer to master these 5 basic principles. Use them as a reference point to guide you through every photoshoot. Taking random photos will produce random results, so let these principles be your roadmap to consistent, beautiful imagery:
1. Composition & Framing
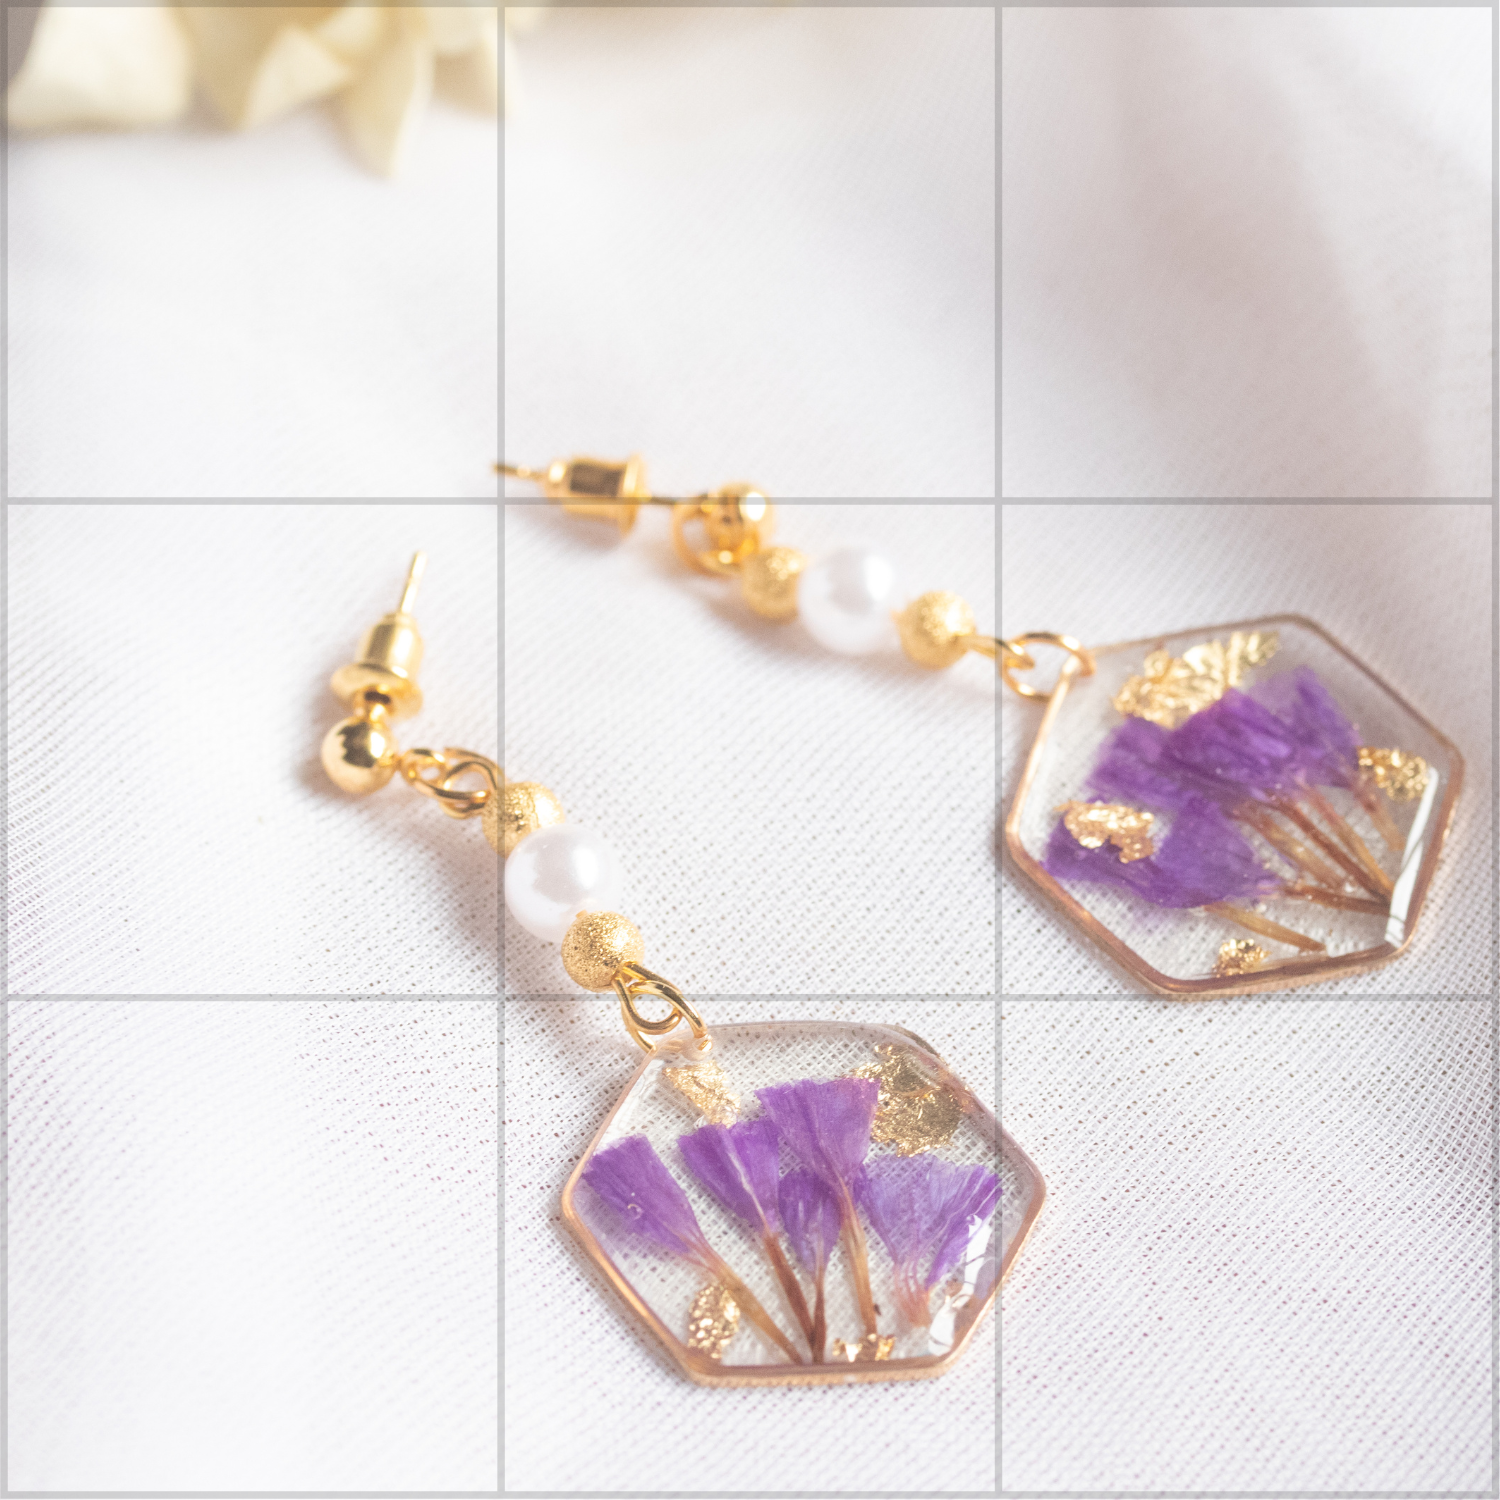
Rule of Thirds: Imagine your frame divided into a tic-tac-toe grid. Placing your product or key elements along these lines or intersections creates more dynamic and engaging photos than simply centering everything.
Negative Space: Don't be afraid of "empty" space! The areas around your product are crucial for allowing it to breathe and stand out.
Cleanliness: Ensure your product, props, and background are spotless. Even tiny dust particles show up in high-resolution photos!
2. Lighting Mastery
Soft & Even: Aim for soft, diffused light that illuminates your product evenly and avoids harsh, distracting shadows. Position your product near a window for the best natural light.
Avoid Mixed Lighting: Stick to one primary light source (either natural light or artificial light, but not both) to avoid conflicting color temperatures and tricky shadows.
3. Sharp Focus
Tap to Focus: If using a smartphone, always tap on your product on the screen to ensure the camera focuses precisely where you want it.
Clarity is Key: The most important part of your product should be tack sharp, ensuring customers can see every detail.
4. Angles & Perspectives
Take Multiple Shots: Don't settle for just one! Experiment with straight-on shots, overhead (flat-lay) angles, 45-degree angles, extreme close-ups of unique details, and lifestyle shots that show the product in use.
Show Scale & Functionality: Different angles help convey the product's size and how it functions or fits into a customer's life.
5. Consistency is Key
Cohesive Aesthetic: Aim for a consistent look and feel across all your product photos. This means similar lighting, backgrounds, and styling. Consistency makes your brand look professional, cohesive, and trustworthy.
Simple Phone Editing for a Professional Finish
You don't need expensive software like Photoshop! There are fantastic free or affordable mobile apps that allow you to achieve a professional polish. Consider apps like Snapseed or Adobe Lightroom Mobile.
Here are the key adjustments to make:
Cropping & Straightening
Get your product perfectly centered and align any crooked lines.
Brightness & Contrast
Make your image pop by adjusting these to enhance clarity and visual impact.
White Balance
This is crucial for true-to-life colors. Adjust to ensure whites are pure white and there are no unwanted yellow, blue, or green tints.
Sharpening (Subtle)
Add a gentle touch of sharpening to make details crisp, but don't overdo it, as it can make images look artificial.
Color Correction (Minor)
Make small adjustments to saturation or vibrancy if your product's colors aren't quite accurate.
Common Product Photography Mistakes to Avoid
Steer clear of these common pitfalls to ensure your product photos always work for you, not against you:
Cluttered or Distracting Backgrounds
These take attention away from your beautiful product.
Poor Lighting
Images that are too dark, too yellow, or plagued by harsh shadows look unprofessional.
Blurry Images
Essential details are lost, and the product appears low quality.
Inconsistent Style
A mismatch of photo styles makes your brand look disorganized and unreliable. Take your images in batches and in the same set-up if you can to have consistency carrying forward. Even using the same filter during the editing phase can bring that consistency across all your images. All your products need to look like they belong to the same ‘family’.
Not Enough Photos
This is a big one that new creatives often miss. Customers need multiple angles, close-ups, and contextual shots to feel confident in their purchase. Aim for 2 to 3 images of each product, not just one.
Key Takeaways & Your Next Step!
Remember, creating stunning product photography is entirely accessible, even if you're not a professional. Your smartphone and natural light are powerful tools, and with a few simple techniques, you can achieve professional results that truly sell.
You can create beautiful, scroll-stopping images that will make your products shine online and attract your ideal customers!
Ready to put these tips into action and get a practical guide to setting up the perfect scene in your home to capture amazing product photos on little or no budget?
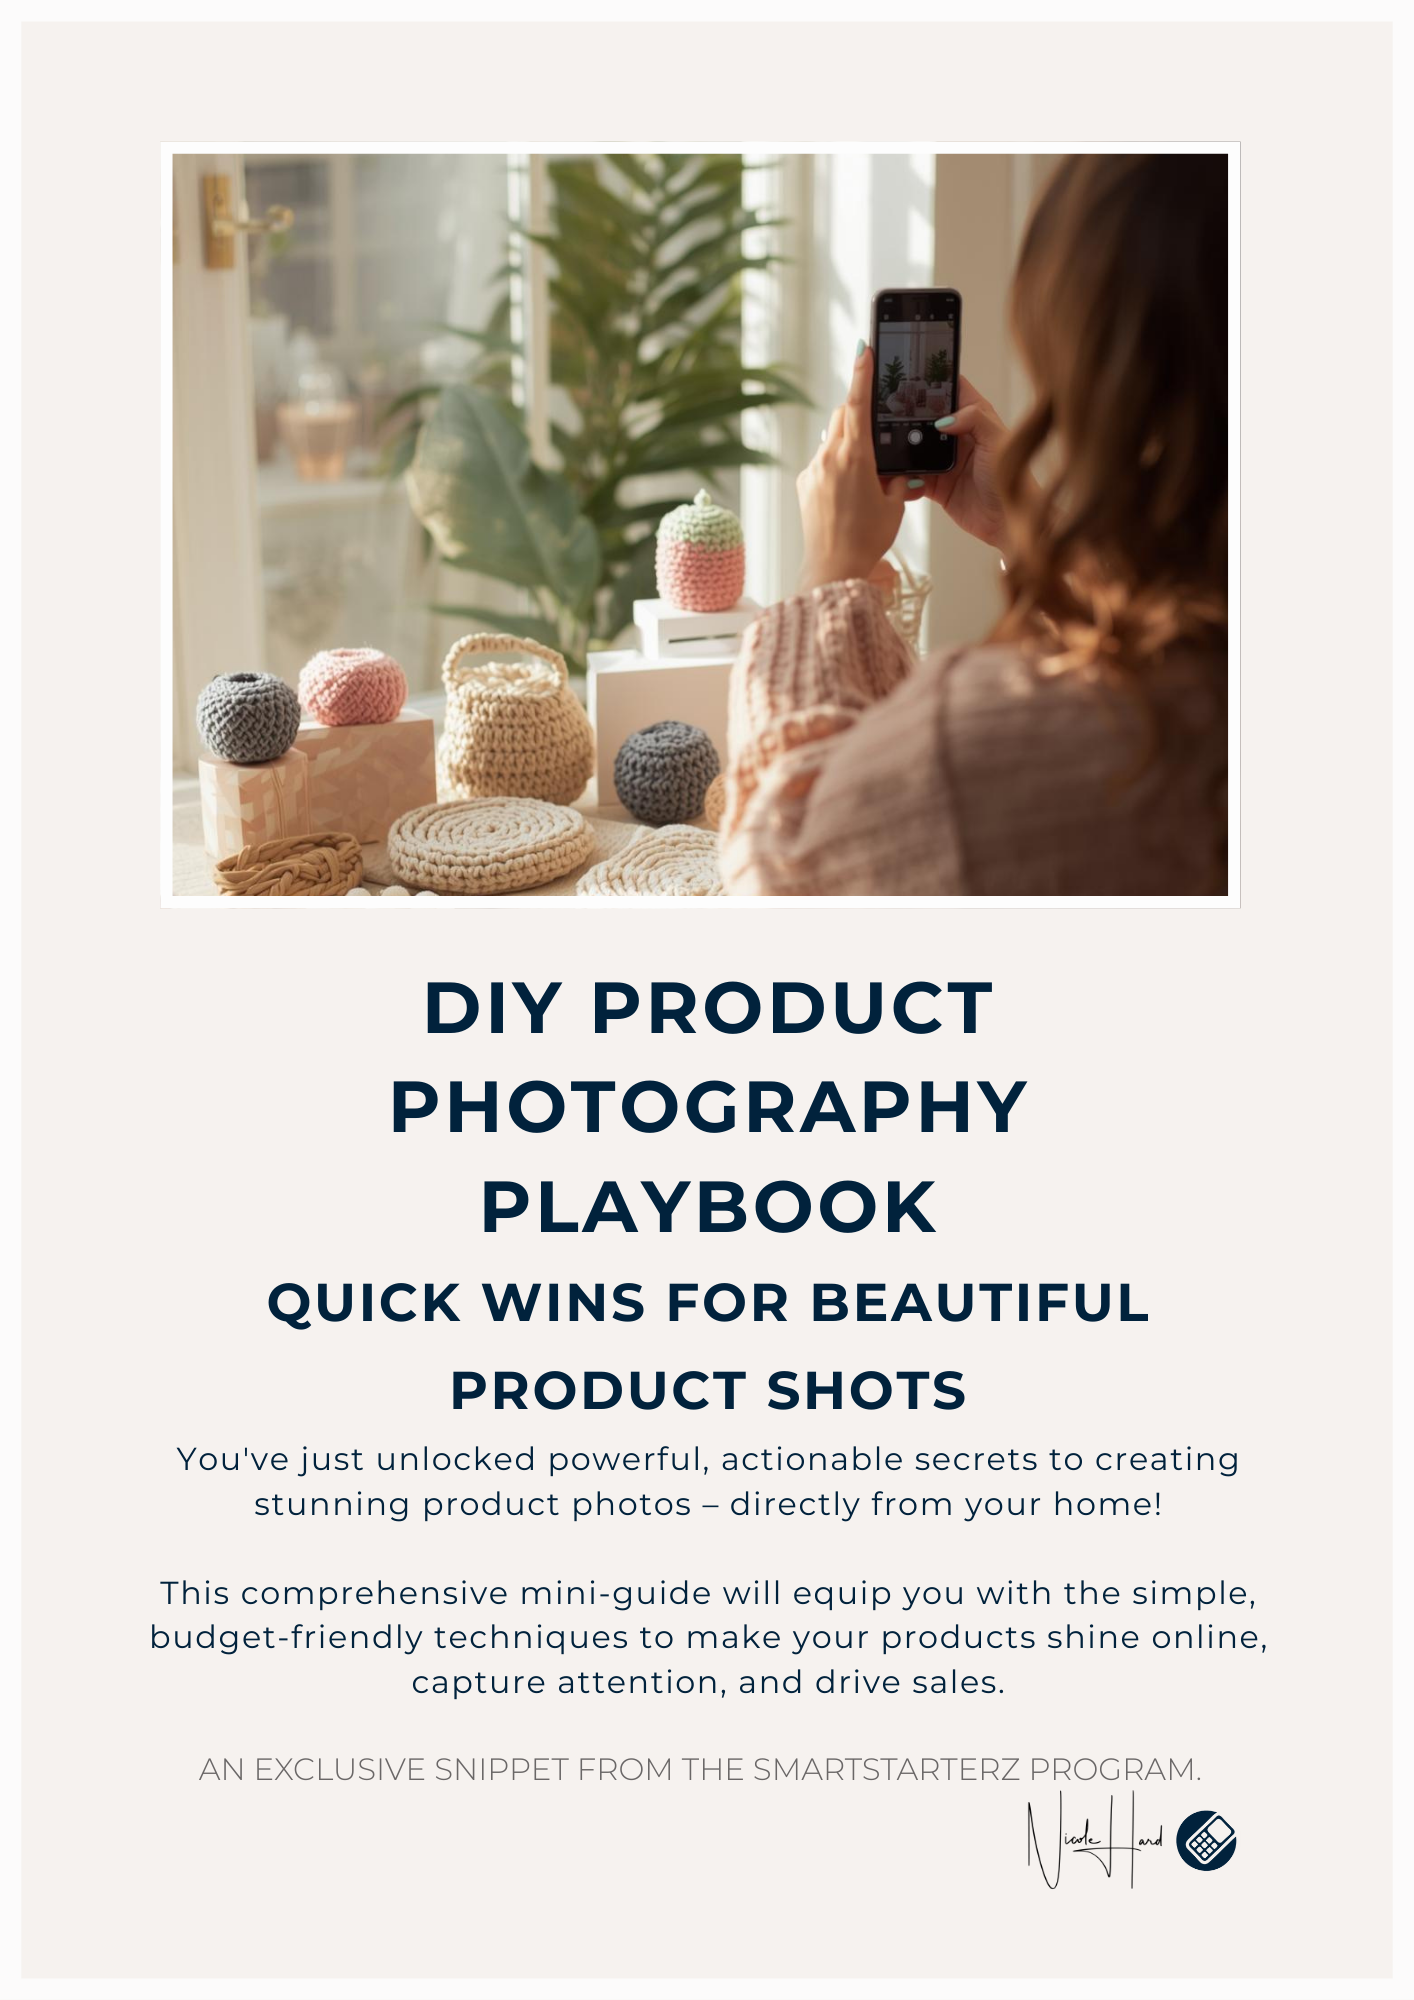
Download our FREE DIY Product Photography Playbook: Quick Wins for Beautiful Product Shots! Get practical, actionable instructions, visual examples, and even a printable checklist to use during your photoshoots, ensuring your products look their absolute best. Download the guide below👇
Continue Your Creative Journey
📚Related Reads: Explore more insights tailored to your specific stage and interests:
Picture Perfect: Master Stunning Product Visuals (On a Budget!) - Includes Your ‘DIY Product Photography Playbook’
The Digital Shopfront: Setting Up Your First Online Store (Etsy vs. Shopify vs. Your Own Website)
The Art of the Name: Lessons from 'Whispering Pines Candles' Unforgettable Product Branding
Beyond the Pretty Product: Identifying Your Unique Selling Proposition (USP) for Profit
Ready to Turn Your Passion into Profit?
You've just gained valuable insights on your creative business journey. Here's your most powerful next step to begin!
Our FREE 6-Part Business Idea Maximizer Class is designed to help creative individuals like you unlock your true business potential.
Discover how to define, refine, and validate your winning idea, ensuring you build a business that truly thrives.
P.S. Your class access is 24/7—watch, pause, and review whenever you like.
Explore Our Full Creative Business Roadmap:
Unsure of your next step? Our interactive roadmap provides a clear path through every stage of building a successful creative business, linking you to the exact resources you need. See The Creative Business Roadmap.

Stay Inspired & Get Actionable Tips!
Follow us on Pinterest for a treasure trove of beautifully creative ideas, practical tips, and valuable knowledge across all our boards. It's where all the magic happens!
A Sign-off from Me
Thank you for being a part of nicolehard.com, your business family.
Building online businesses for passionate makers, Nicole! 🌱
Feeling stuck?
Reach out to us by Email and we’ll send you feedback on your business idea.